
If you’re looking for a happy go lucky, feel good blog post, this is not your page. If you’re looking for fluff and stuff, this ain’t that post.
But if you want raw emotion that takes you on a ride of frustration and setback, resulting in a meaningful learning experience, strap in.
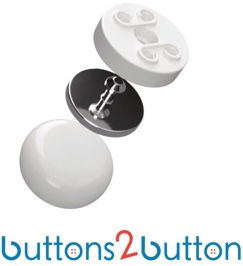
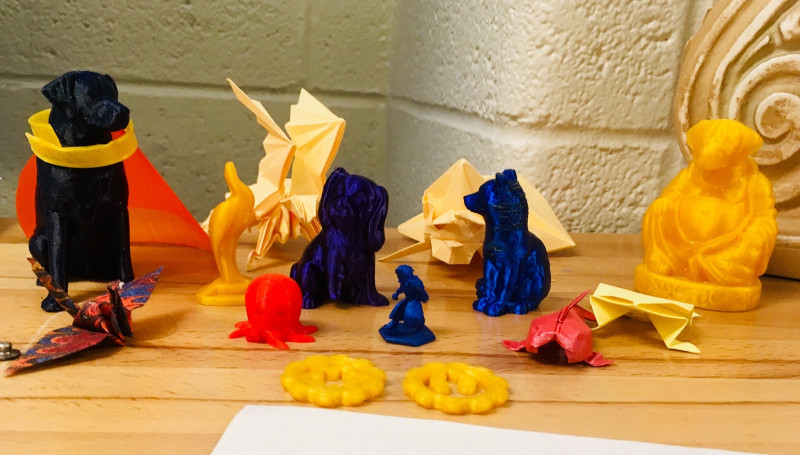
The goal: 3D print gold button caps for my own personal customized set of Buttons2Button (B2B) magnetic button adapters. B2B is a revolutionary product that converts any almost any dress shirt into an adaptive clothing product that pulls apart to open and snaps together to close, via the power of magnets! The next evolution of adaptive clothing.
I digress. So printing button caps, sounds easy and straightforward, right? Prepare to be backhanded by one of life’s favorite tennis rackets: reality.
Round One, FIGHT:
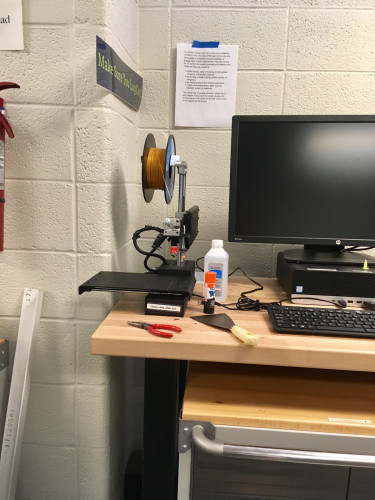
It all started business as usual. Preheat the base of the Printrbot 3D printer; clean the base with alcohol; coat the base using glue stick for the filament to adhere to the base; load up the button CAD design file into the 3D printer slicer software. And the printing began with smooth sailing.
After a short 20 minutes, the buttons were finished and looked beautiful. Victoryyy!
WRONG!
The Problem...
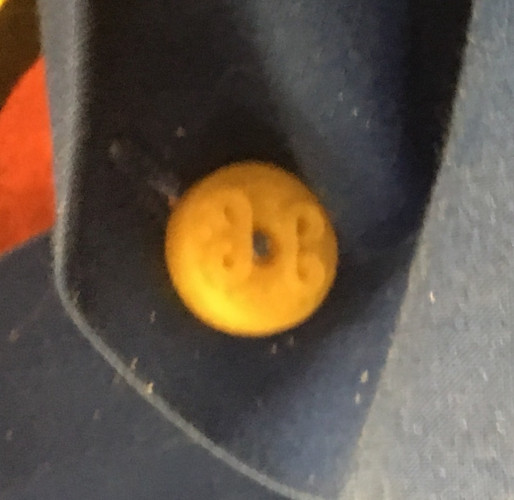
The holes, in the center of button caps printed off and weren’t big enough for the metal pin to go through the hole and lock on to the button cap.
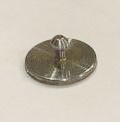
In order for one of the buttons to attach to the pin that attracts to the magnet, we needed to use a pair of pliers. Big mistake. Instantly, it was stuck and sealed shut. We were unable to remove it with our own fingers so we had to bust out a Dremel and cut the button off the pin.
So, What Happened?
**Fun Fact: 3D printing filament comes in different types and styles
The original prototypes were made with a silicon-like 3D printing filament, known as TPU. The University of Michigan Shapiro Library Design Lab only stocks PLA filament to use for 3D printing.
PLA filament can come in many different colors and some PLA types have slightly different properties, but overall it shares these main similarities: sturdy and won’t break over time, although(!) it is corn based (biodegradable... mmm, makes my environmentalist heart sing).
(PLA: tough, versatile, biodegradable. SUPER FILAMENT! Yea, you go, PLA!)
On the other hand, TPU is a more pliable filament, which is nice because with more give, it has a similar consistency to silicon. However, it is oil-based and more expensive (costly to your wallet and the environment, double whammy).
But hold your green horses. The advantages of PLA do come with its drawbacks for 3D printing. This was the case with the pins not being able to fit into the receiving hole of the button caps.
Now, you’re probably wondering, “So that’s well and good but what’s the point? Who done it?”
Well, a couple potential culprits are at play...
Suspect Number 1: a shrinkage package...
When PLA is extruded out of the 3D printer, it comes out like a hot glue gun and therefore needs to cool down. Sometimes as the filament is cooling down it shrinks and, in the process, whatever your measures were before are now slightly off. I would try to tell you that this usually never happens, but offsetting after the cooling process is actually quite common.
Suspect Number 2: Lost in Translation
Sometimes 3D CAD Designs do not import with the same settings and dimensions from a CAD software to the slicer (in this case from the CAD software Fusion 360 to the software used to convert the model into a printable file which was Simplify 3D). Unfortunately, when you load a 3D file into the slicer I used for printing with the Printrbot machine, you are not able to make subtle adjustments to different nuances of a design. You can only enlarge or shrink the design as a whole.
In this first attempt, I did not have the original 3D CAD file for the button cap. It was a copy. So, I had to reach out to the original CAD engineer who put together the file and ask for the original file.
Round Two, FIGHT:
I came back to the design lab a second day and asked Stef, the tech prodigy Jedi working in U of M Design Lab, to make the hole (in the middle of the button cap) bigger for the pin to still fit but not get stuck.
So, the hole in the middle of the button was enlarged and a single button was printed off to test. And again, the pin still couldn’t fit. The design had to be altered again, with the inner hole’s diameter being increased once more.
(Are you ready to throw in the towel yet, because I was starting to think about it… but, always remember, persistence pays off)
Overtime, FIGHT:
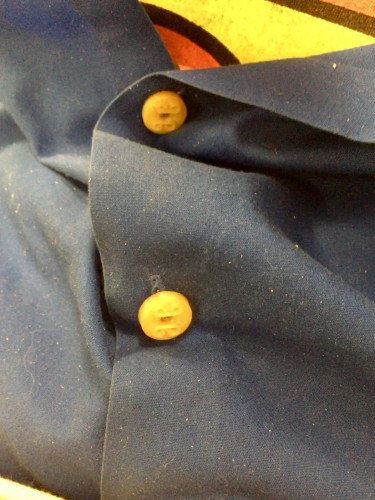
Alas, this time the buttons printed out were just big enough for the metal pin to insert and not completely get stuck. And they look sweet!!
In Conclusion:
I am grateful again to the design lab for the lessons I learned, their patience and willingness to help me out, and for these nifty, new gold buttons!
This was a journey of headache and a little heartache but, with curiosity and the right perspective, your worst projects can oftentimes become your greatest learning experiences.
Fin.
More information about the University of Michigan Undergraduate Library Design Lab: https://www.lib.umich.edu/shapiro-design-lab
More information about Buttons 2 Button: https://www.buttons2button.com
Key terms from the article:
Simplify 3D - Slicer (software for 3D printer) used to convert the cad design schematics into a ready to print 3D design.
Dremel - rotary tool used to remove buttons from the metal pin. Rotary tool- multipurpose: cutting, drilling, sanding
Fusion 360 - CAD design software used to adjust the button cap schematics.
Printrbot - 3D printer used in the design lab

About the author:
James Murtha is a 2018 alum from University of Michigan of Social Work. He is about to take a job working as a mental health therapist for Amplify Colectivo counseling offices in Ann Arbor and Ypsilanti. James started working a year ago with Wareologie, a southeast Michigan-based startup business that makes adaptive clothing and assisted technology. Wareologie will bring their first product, Buttons 2 Button, to market this coming Christmas.
James can be contacted at jamurtha@umich.edu