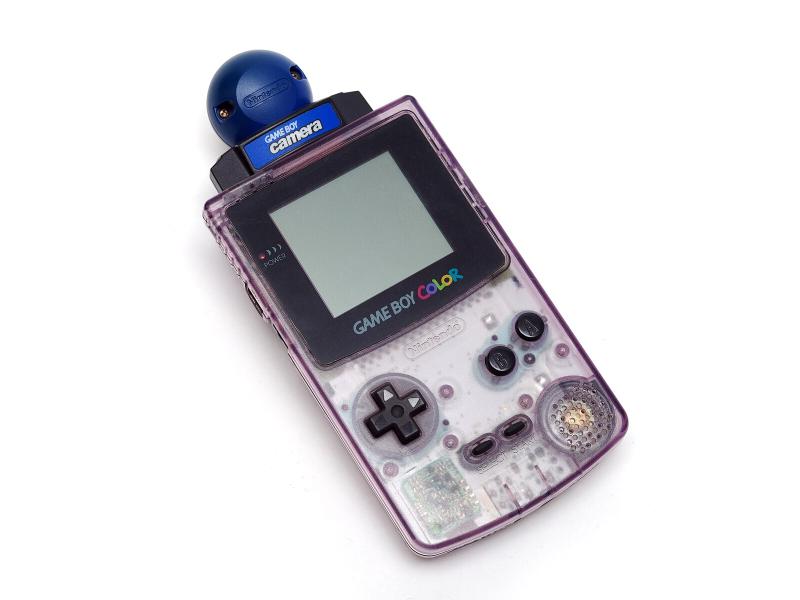
Classic Gameboy console.
Ashley Pomeroy, Game Boy Camera 7996, CC BY-SA 4.0
In 1998 Nintendo released the Gameboy Camera, a cartridge for the namesake console. This was one of the earlier consumer digital cameras available. Its tiny sensor could capture a whopping 14,336 pixels (a modern phone captures more like 14 million…). The gameboy at the time could only display 4 colors: white, 2 shades of gray, and black. The camera captures the color (or really “value”) of the image in only 2-bits. Along with the camera, Nintendo debuted a Gameboy Printer, an accessory that used receipt paper to let you get the photos off the device.
Early film cameras also captured and printed in black and white. A technique emerged though to create full color images before the technology really allowed for it. It’s called trichromatic photography or the three-color process. It lets the camera capture images in a similar way to how our eyes perceive them by combining 3 photographs. Each of these photos is taken with a filter for red, green, and blue.The filters effectively only let in light of the respective color. You then combine all the exposures and the result is a dreamy, color photograph.
Let’s bring this centuries old technique to a decades old game console. To accomplish this I will be adding a few extra steps. I’ll be 3D printing a custom cartridge for the gameboy camera electronics. This modification will allow me to attach lenses for additional functionality and control. To get the photographs off the device, I’ll be using a modified Link Cable to connect with a gameboy printer emulator on my computer. I’ll be using a gameboy pocket, which I obtained second-hand and restored with cosmetic upgrades. All along the way I’ll be making zines of the pictures I took.
One of the first pictures I took with my new gameboy camera remains one of the hardest. Attaching a lens to the gameboy camera introduces a crop factor, zooming in on whatever you’re aiming at. The lens I’m using is a small zoom lens, made for CCTV cameras.The zoom factor is unbelievable. Here are two photographs of window cleaners working for up an apartment building:
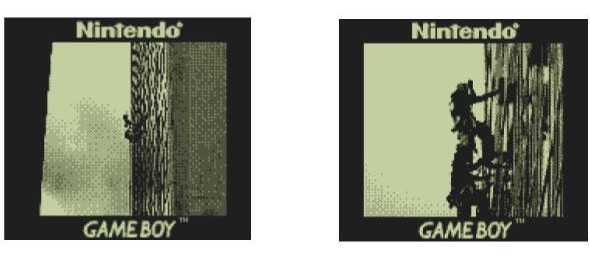
Two window cleaners on the side of an apartment building - on the right, the picture is magnified significantly.
This zoom capability had me looking to the stars, I wanted to photograph the moon. Capturing the moon on a phone camera is challenging enough, and I was wanting to do it on a device whose screen doesn’t even light up. On a full moon I set up a tripod with a phone clamp and attached my gameboy pocket and camera.Holding my phone as a flashlight I positioned and focused the lens as best I could. Did you know the moon moves? Like really fast? That was an issue too. Now if I had a fancy telescope I could have it track the earth and moon’s movement, but I am stuck with an amazon basics tripod. It took me a few hours to get a few usable photos, here are my faves:
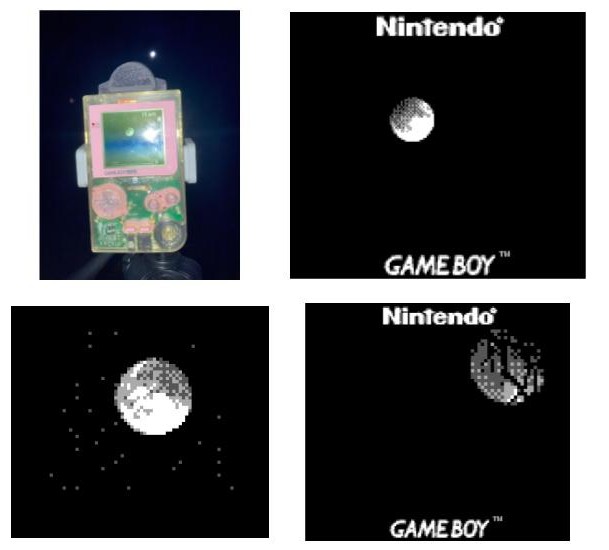
Photos of the moon. On the top left, the Gameboy set-up with the 3D printed cartridge.
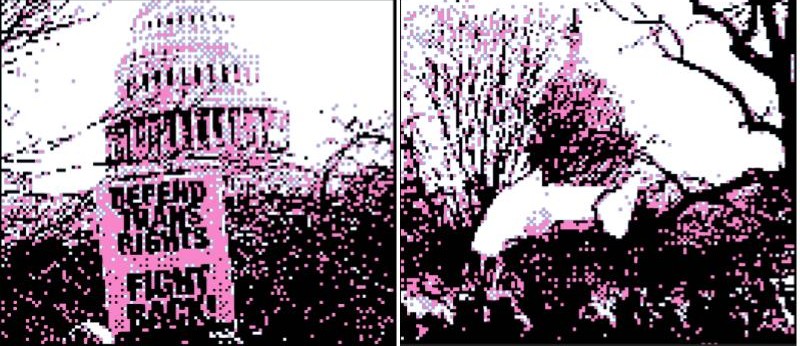
I took my gameboy camera to Washington DC to capture a trans rights rally. I took pictures of protest signs and collected them into a zine. Instead of black and white I assigned different colors to the 2-bits of gray.
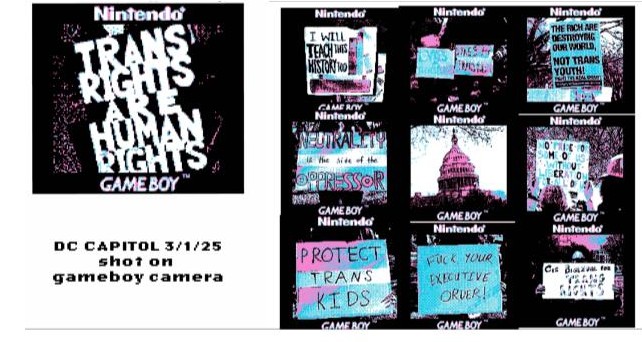
Various pictures taken during the trans rights protest in Washington, DC on 3/1.
Pictures taken during the protest.
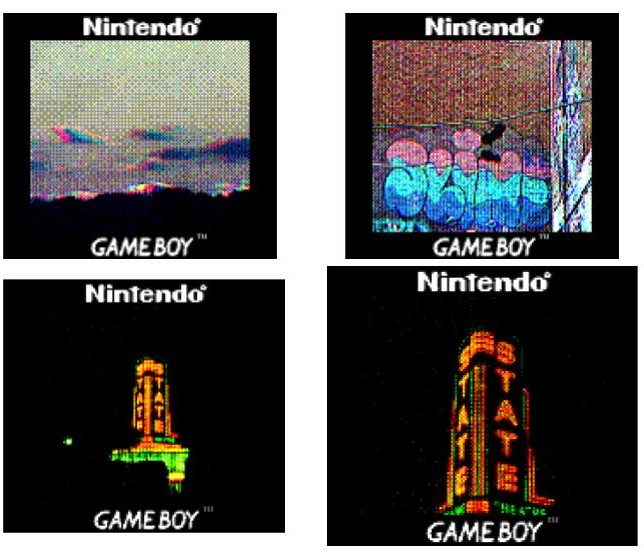
Now let’s get to the tricromy. At first I used transparent sheets (called lighting gels), but these are not ideal. Scouring estate sales I was able to get my hands on a set of professional-grade camera filters for less than $10. To take the photos I use the camera’s time-lapse feature, where I can tell it to take a series of photos after a set amount of time. I take 4 exposures. The first is without a filter and is mostly so the following 3 images are complete still- pressing the button wobbles the camera a bit. This non-filtered image will also come in handy later. The rest are taken with me holding the filter in front of the camera lens.
Once I have the images on my computer I load them into photoshop, assigning each to its respective RGB channel. To give a little more depth, and if the non-filter shot isn’t blurry, the first exposure can be blended in as a separate layer. Sometimes it will come out glitchy, consider it a feature, not a bug.

Left: Photo of the Burton Memorial Tower on Central Campus. Right: A wide shot of a cloudy sky.
More pictures!

Photo of a local coffee shop.
I hope you enjoyed this journey of an endearing, nostalgic form of pixel photography. There’s something so intriguing to me about capturing reality this way. It’s an abstraction, illustrated perfectly on a 0,014 megapixel canvas. It’s helped me see and observe the world in new, more mindful ways.
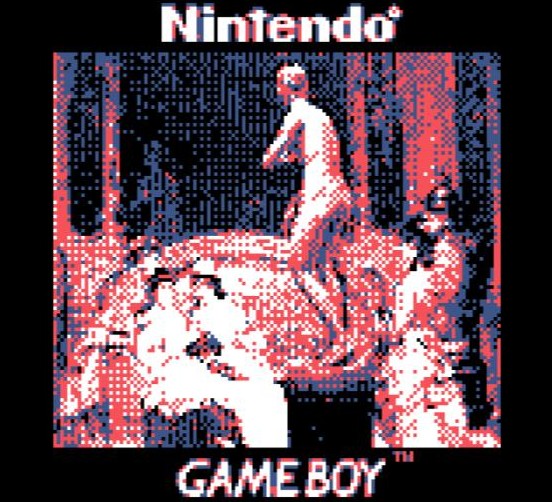
What’s next? I’m planning on painting a cropped portion of the painting A Visit to the Gallery by Pier Celestino Gilardi. I’m also going to continue experimenting with trichromy, hopefully branching into some printmaking processes for my zines.
A photo of the painting "A Visit to the Gallery" by Pier Celestino Gilardi.