I, like many other of my coworkers, love to read. I’ve read probably thousands of books at this point. However, I never really thought about how they’re made. Sure, it’s a little bit of glue and some cardboard, but that’s all I knew. Also, let it be known that I’m not a very crafty.
On Friday, October 11th, U-M Library held an event in the Design Lab Pie Space involving something called "the cheese book". As a person who loves cheese and books, my interest was peaked. I naively thought this would be a book about cheese, but instead, it literally was a book of cheese!

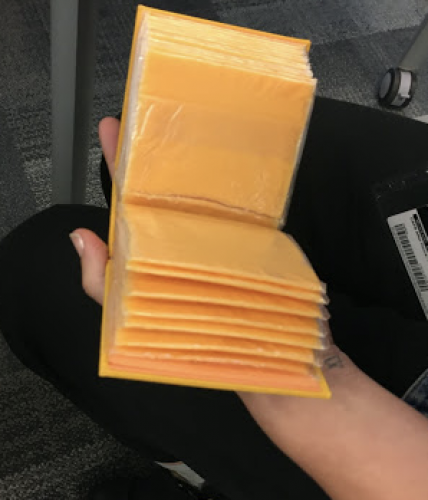
Ben Denzer binds books. He decided, for some reason that I do not and will not know, to make ten editions American Cheese, 20 Slices. He takes 20 slices of american cheese (still wrapped) and binds them together into a hardcover book. Read about it here!
The main point of the event was to teach book binding. So, using some old catalog cards that have accumulated from the different libraries across campus, we started making small books. The method we used is called perfect binding. The process begins by gluing one side of the pages together multiple times. By the time the book dries all the pages can still open but are bound together. This creates a textblock. To add some finishing touches, we add headbands which are pieces of ribbon to the ends and cover the spine with some paper.
The next step has us adding end paper. End paper is the colorful paper at the beginning and the end of a book. In a hardcover book the end paper is what the cover attaches to while the spine remains unattached. Two end pages are cut to twice the width of the text block. After applying about a centimeter of glue to the first and last page, you attach the end pages.
On to the book cover! Personally, I think this is the hardest part. We first cut two pieces of particle board that are a little larger than the pages. Then, cut the spine piece, which is sized by laying the two already cut pieces and the textblock together. The reason I find this so difficult is due to my very unsteady hands. I cannot cut straight lines for the life of me. Luckily, they had this hack of using a ruler as a straight edge to help. Of course, I still messed it up, but it worked much better than I would’ve done on my own.
The final part was the most fun. We cut a piece of material that was going to be the cover. Luckily, this did not have to be nicely cut, so I was saved. I glued the particle board pieces to the inside and wrapped the edges over to create nice folds.
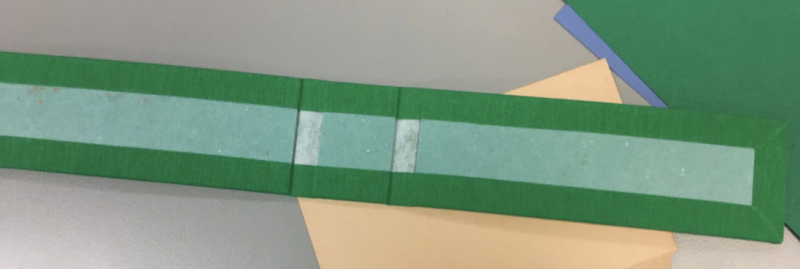
I’m surprised how they attach the cover to the book. You use a small piece of cheese cloth glued to each end piece to help keep the cover close to the spine. Such an ingenious idea! Then, we glue the rest of the inner cover to one side of the end paper.
Voila, a book! A very satisfying part is indenting the ends of the spine to perfectly fit the cover to the book; really adds character.
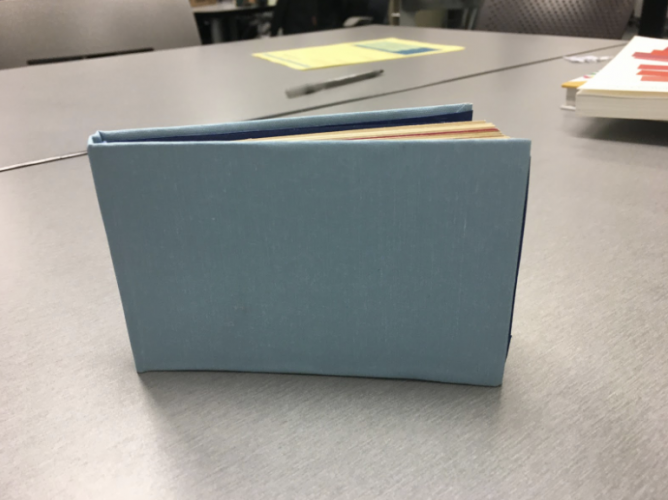
As I said, I’m not a crafty person, so my book did not turn out great. But, I’m still proud of it. I can officially say I’ve made my own book!