Visitors to our Fall exhibit Faster and More Fun: American Home Cooking in the 1920s, might be pardoned for questioning whether the 1920s offer anything to appeal to the 21st century palate. After all, few of us are likely to be inspired to recreate shrimp shortcake or Imperial Salad (lemon Jell-o with pimentos and pineapple). And based on the reaction of some of my acquaintances, blancmange (cornstarch pudding) is scarcely more appealing!
However, this month’s Recipe of the Month post sets out to prove that you can, indeed, host a Jazz Age party with historically accurate recipes and enjoy your cake (or your Jell-o) and eat it, too, with Tomato Canapés (1928) and Raspberry Delight (1927).
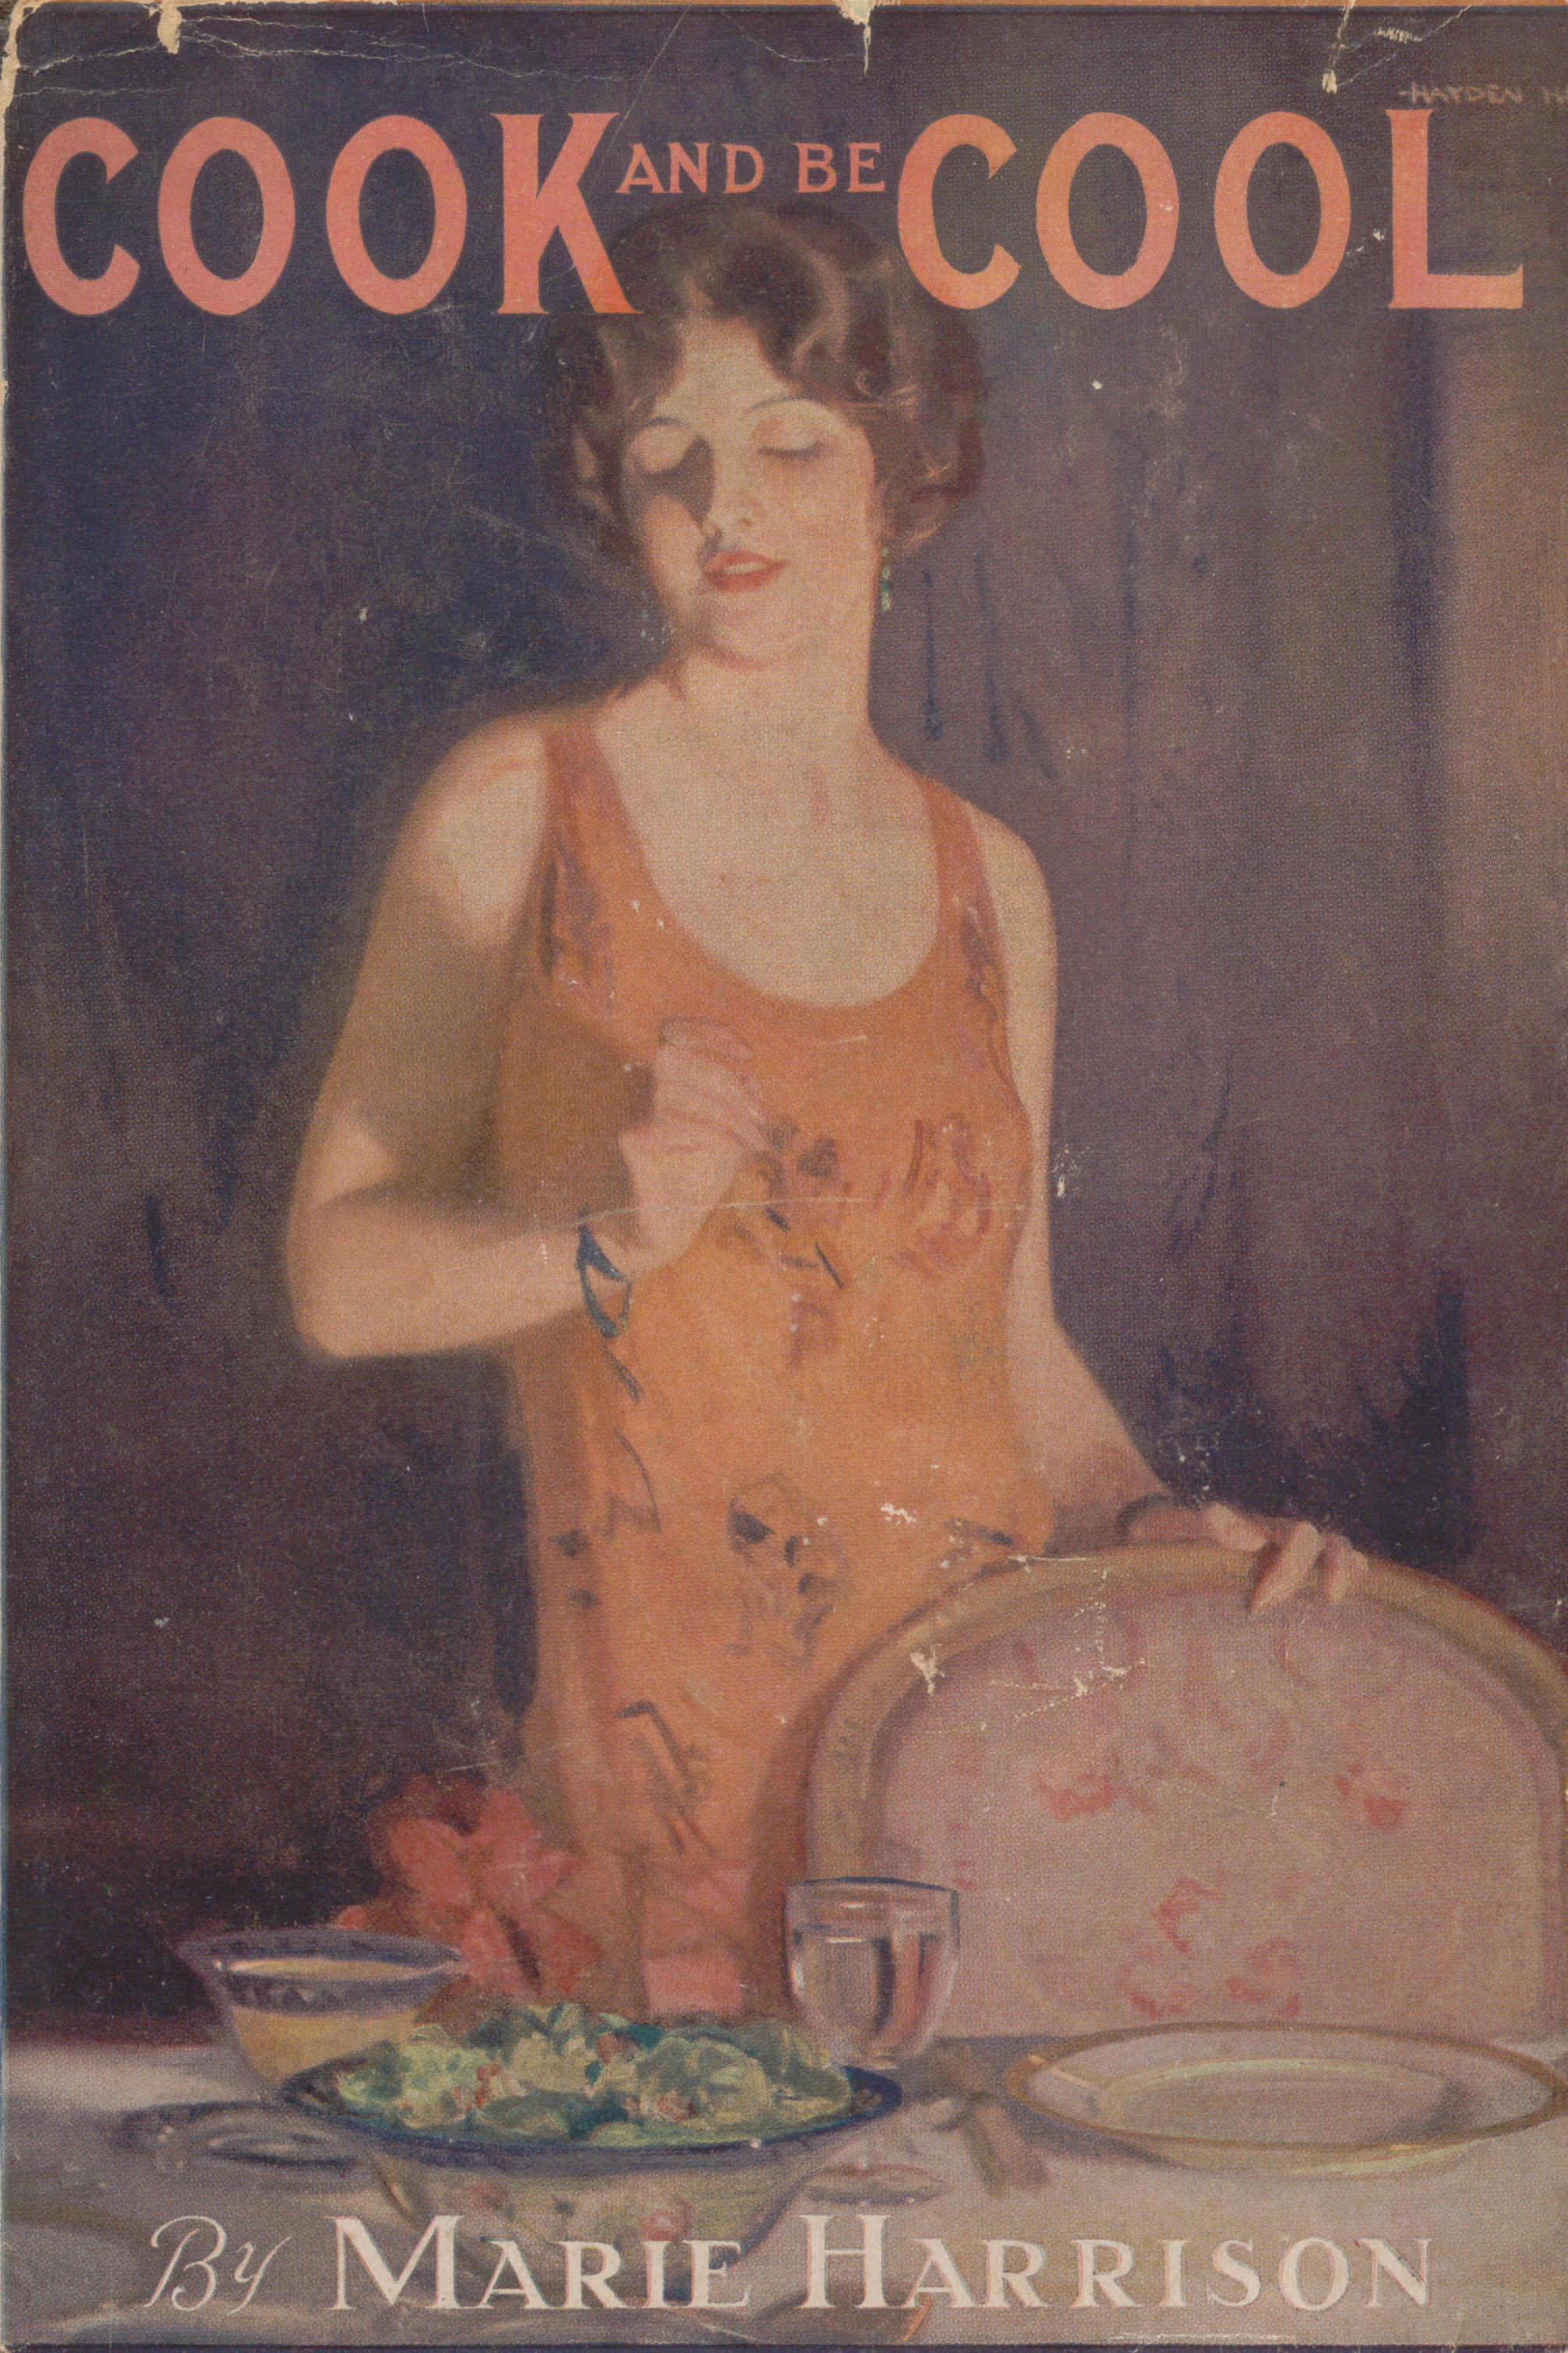
Cook and Be Cool (1928) by Marie Harrison. Boston [Mass.] : Houghton Mifflin Company, 1928. Gift of Janice B. Longone. Janice Bluestein Longone Culinary Archive.
Cook and be Cool, A Book for Hot-weather Housekeeping (1928) was written by Marie Harrison as a guide for women seeking to entertain with a minimum of food preparation, particularly in the heat of the summer. It’s late October now, but the warm weather has persisted this year, so Harrison’s recipes are still worth a look. In my personal life, I am very much a no-fuss cook. I like baking bread and cooking stews. My salads are mounds of greens mixed with roughly chopped fruits and vegetables mixed in. Harrison’s stylized appetizers are really not my usual approach at all, but in the cause of historical experimentation, I decided to try her recipe for Tomato Canapés:
Cut bread a quarter inch thick and make rounds with a cooky-cutter. Spread with butter and then with mayonnaise, on this put a slice of peeled tomato the exact size of the bread, spread this with mayonnaise, edge the tomato with a ring of chopped parsley, then inside the parsley a ring of the chopped white of a hard boiled egg, then the powdered yolk in the middle, then the powdered yolk in the middle, on the center of this, a stuffed olive with a tiny sprig of parsley stuck in the top.
It was a little hard to imagine what this would look like when I started out, but I gamely cut slices of bread with a biscuit cutter (about 2 ½ inches across), sliced tomatoes, boiled eggs, and carefully assembled all the many tiny layers and rings. The result was quite visually delightful, with a little art deco flair! The tiny sprigs of parsley in the olives on top really give it the final touch.
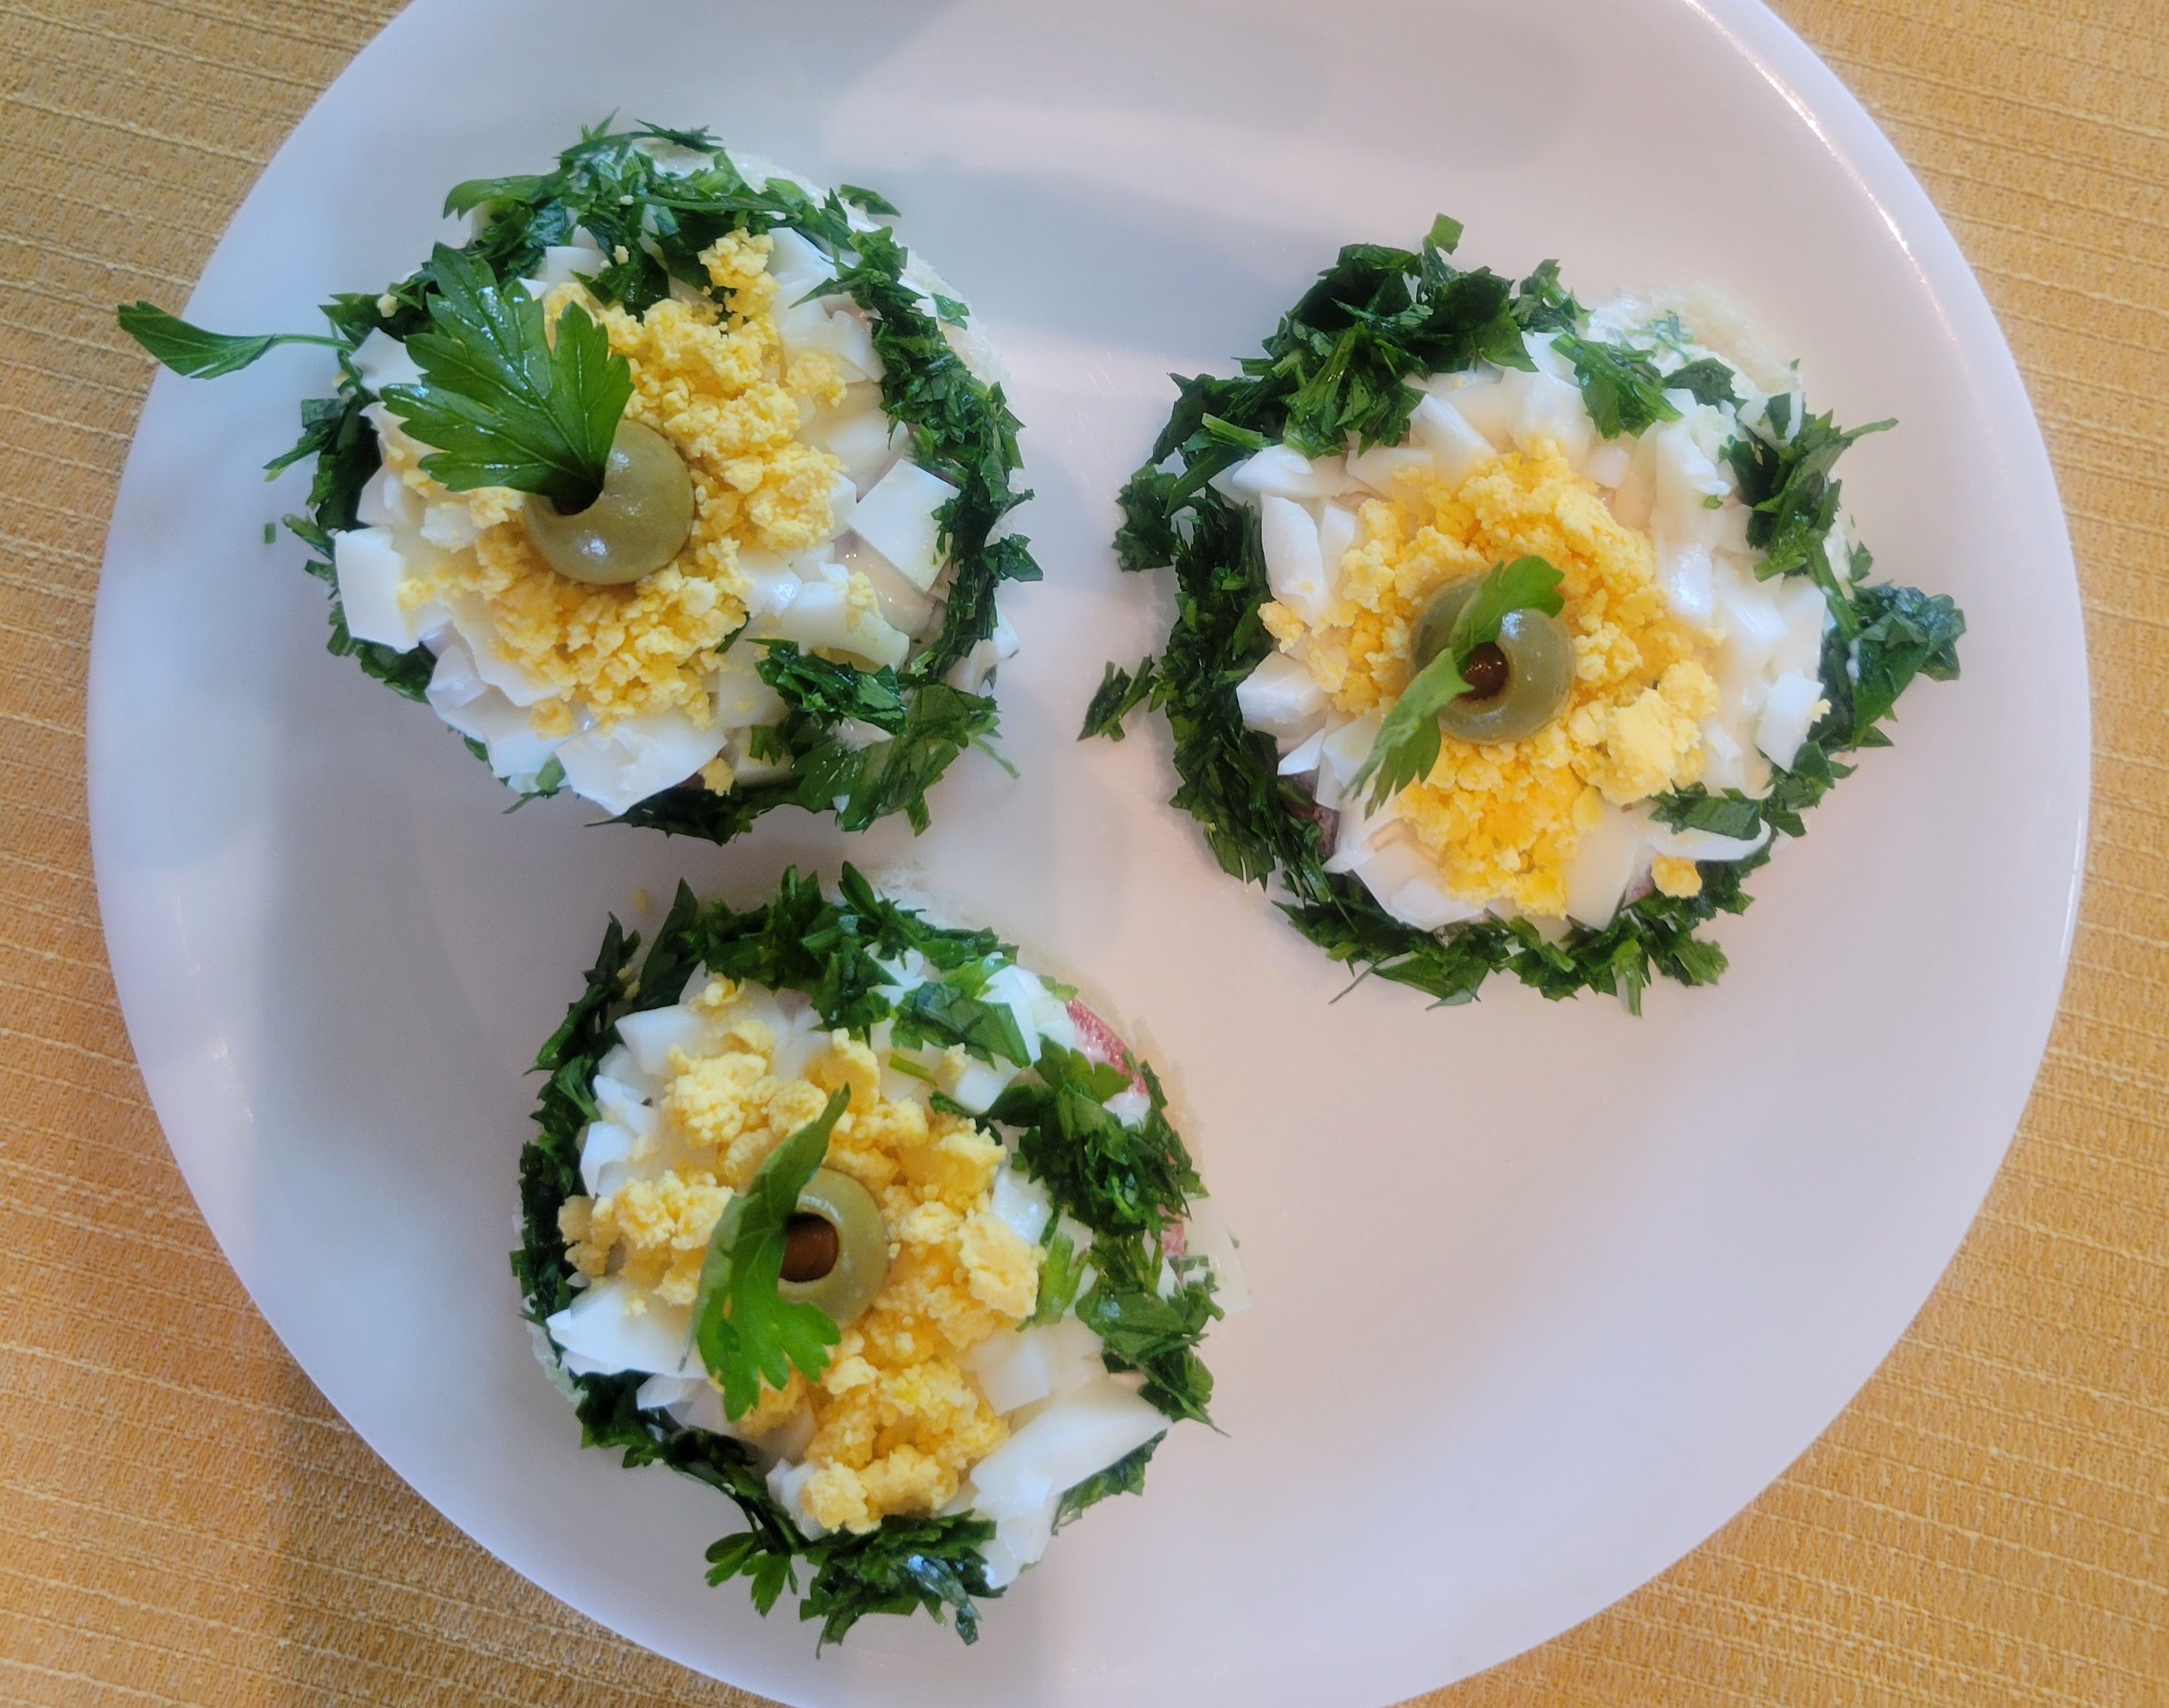
With that said, it was hard to maintain dignity (let alone style!) while eating these, and I certainly can’t imagine doing it in an evening gown. I probably should have chosen an even smaller cookie cutter and smaller size of tomato. It would have made assembling rings of parsley, egg white, and egg yolk even more challenging, but being able to consume the result in just one or two bites would have made for a more graceful dining experience.
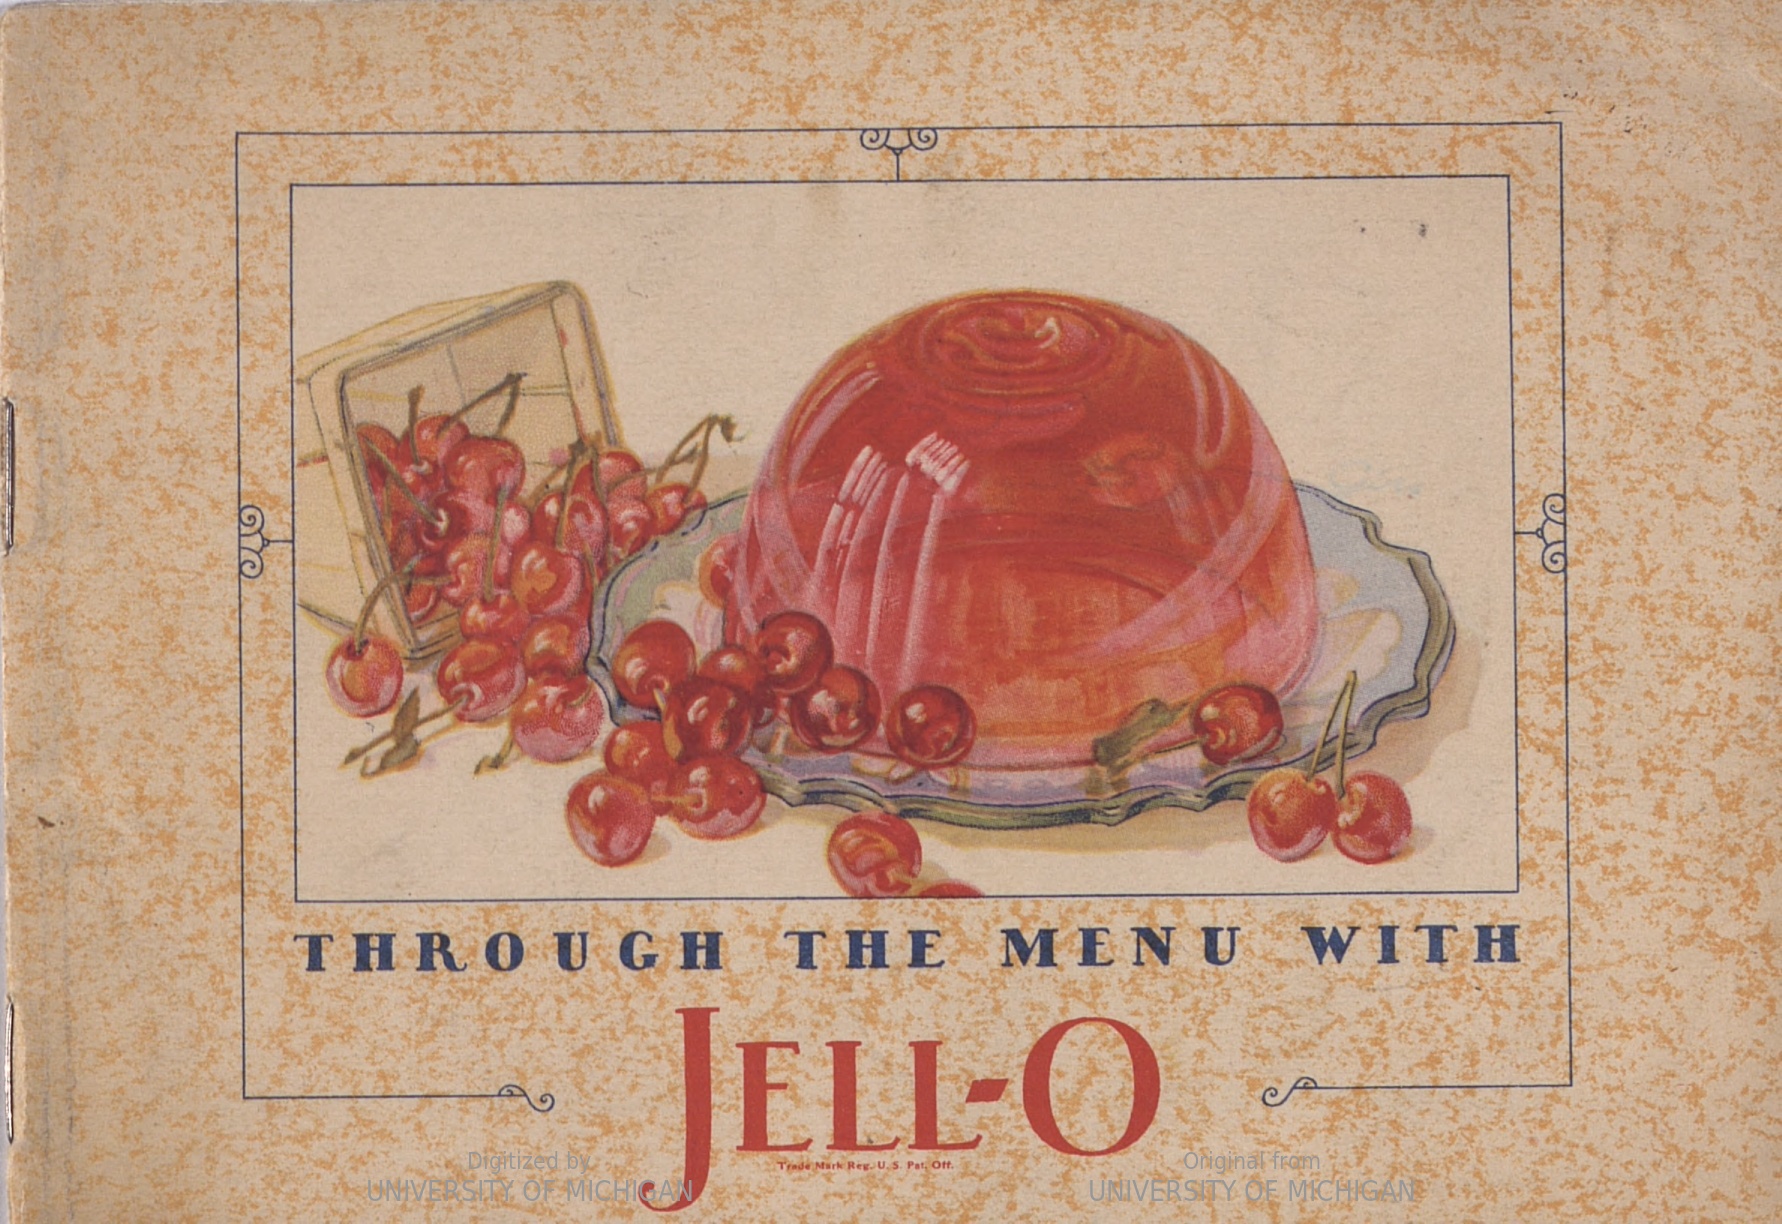
Through the Menu with Jell-O (1927). [Le Roy, N.Y.] : Jell-O Co., c1927. Janice Bluestein Longone Culinary Archive.
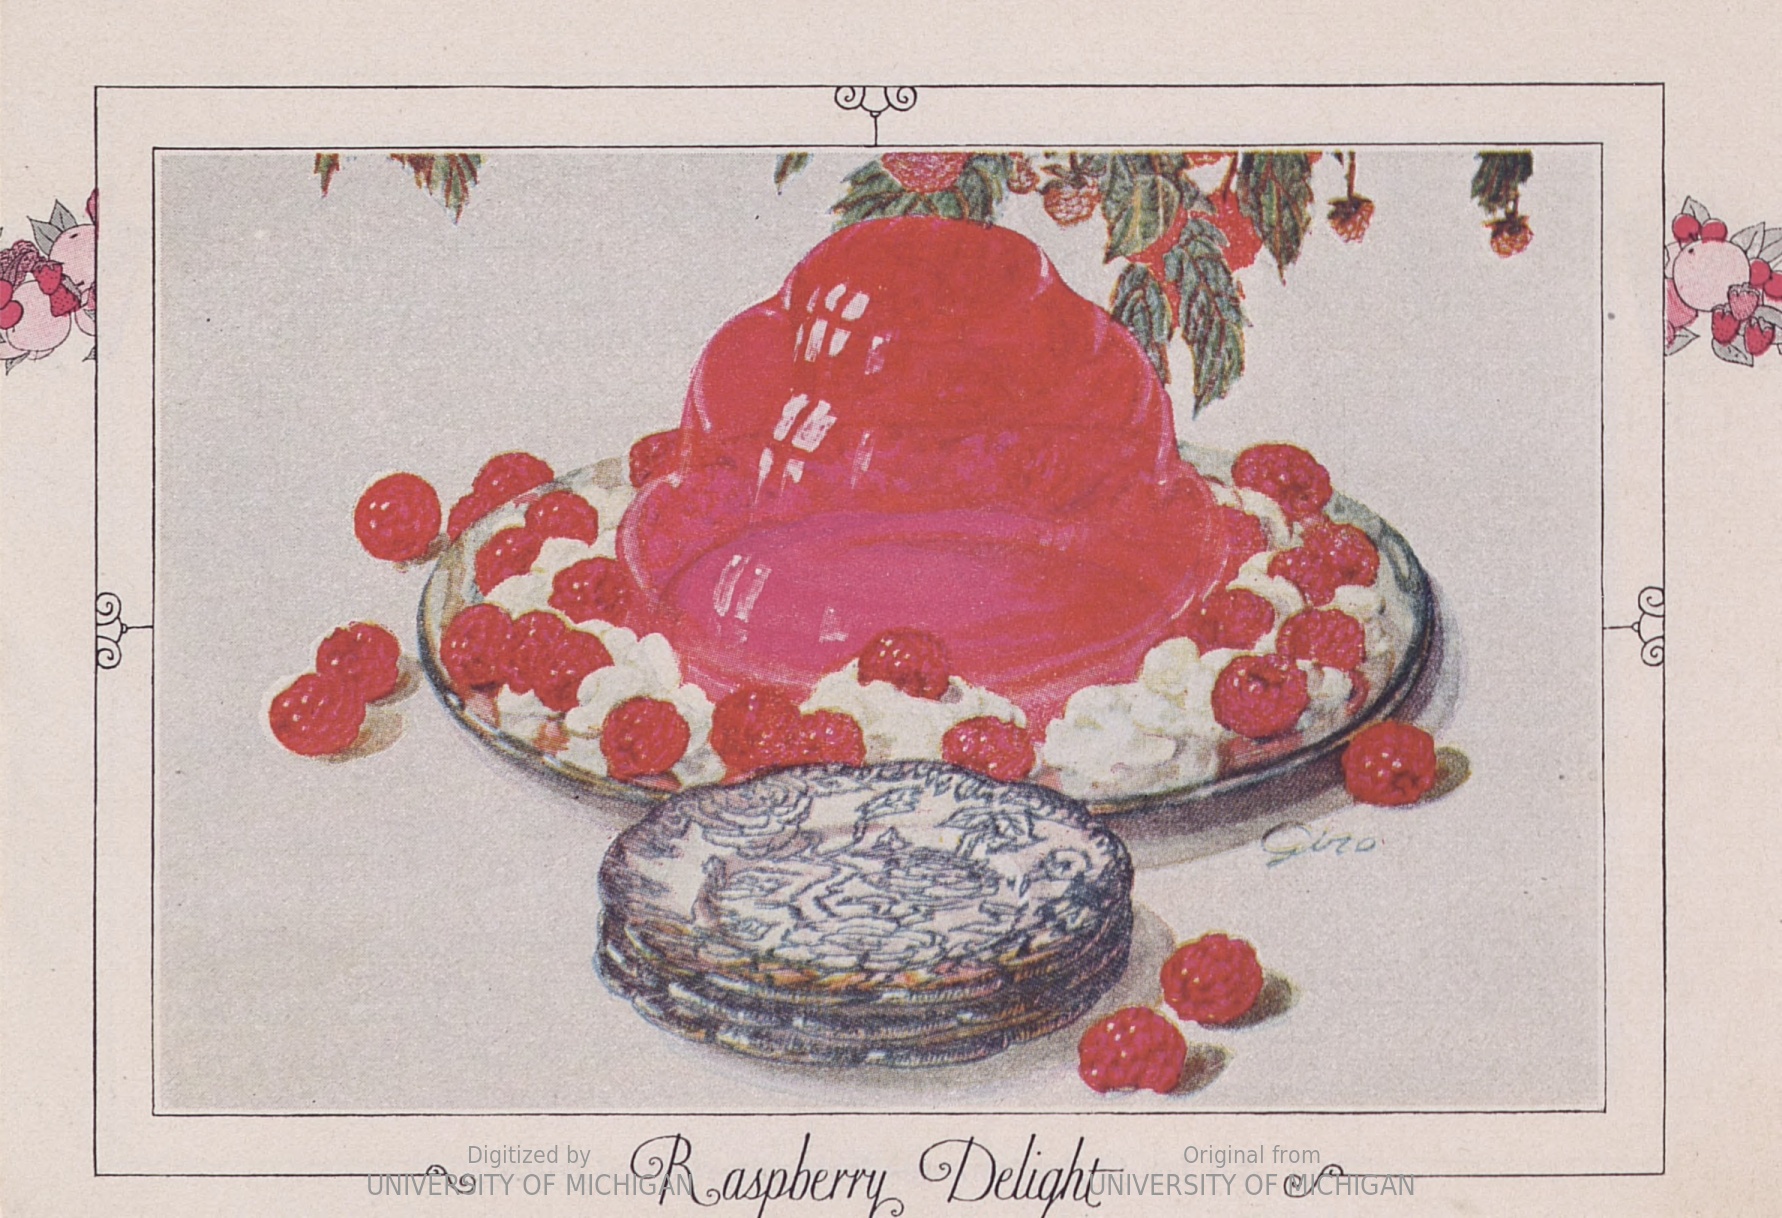
Through the Menu with Jell-O (1927) offers a plenty of recipes for the historically adventurous (cottage cheese & cayenne pepper in lemon Jell-O, anyone?), but also includes a number of more pedestrian fruit molds. Delmonico Dessert with shredded coconut and strawberries looks amazing, but since we are well past strawberry season here in Michigan, I opted for Raspberry Delight:
1 package Raspberry Jell-O
1 cup boiling water
1 cup raspberry juice and water
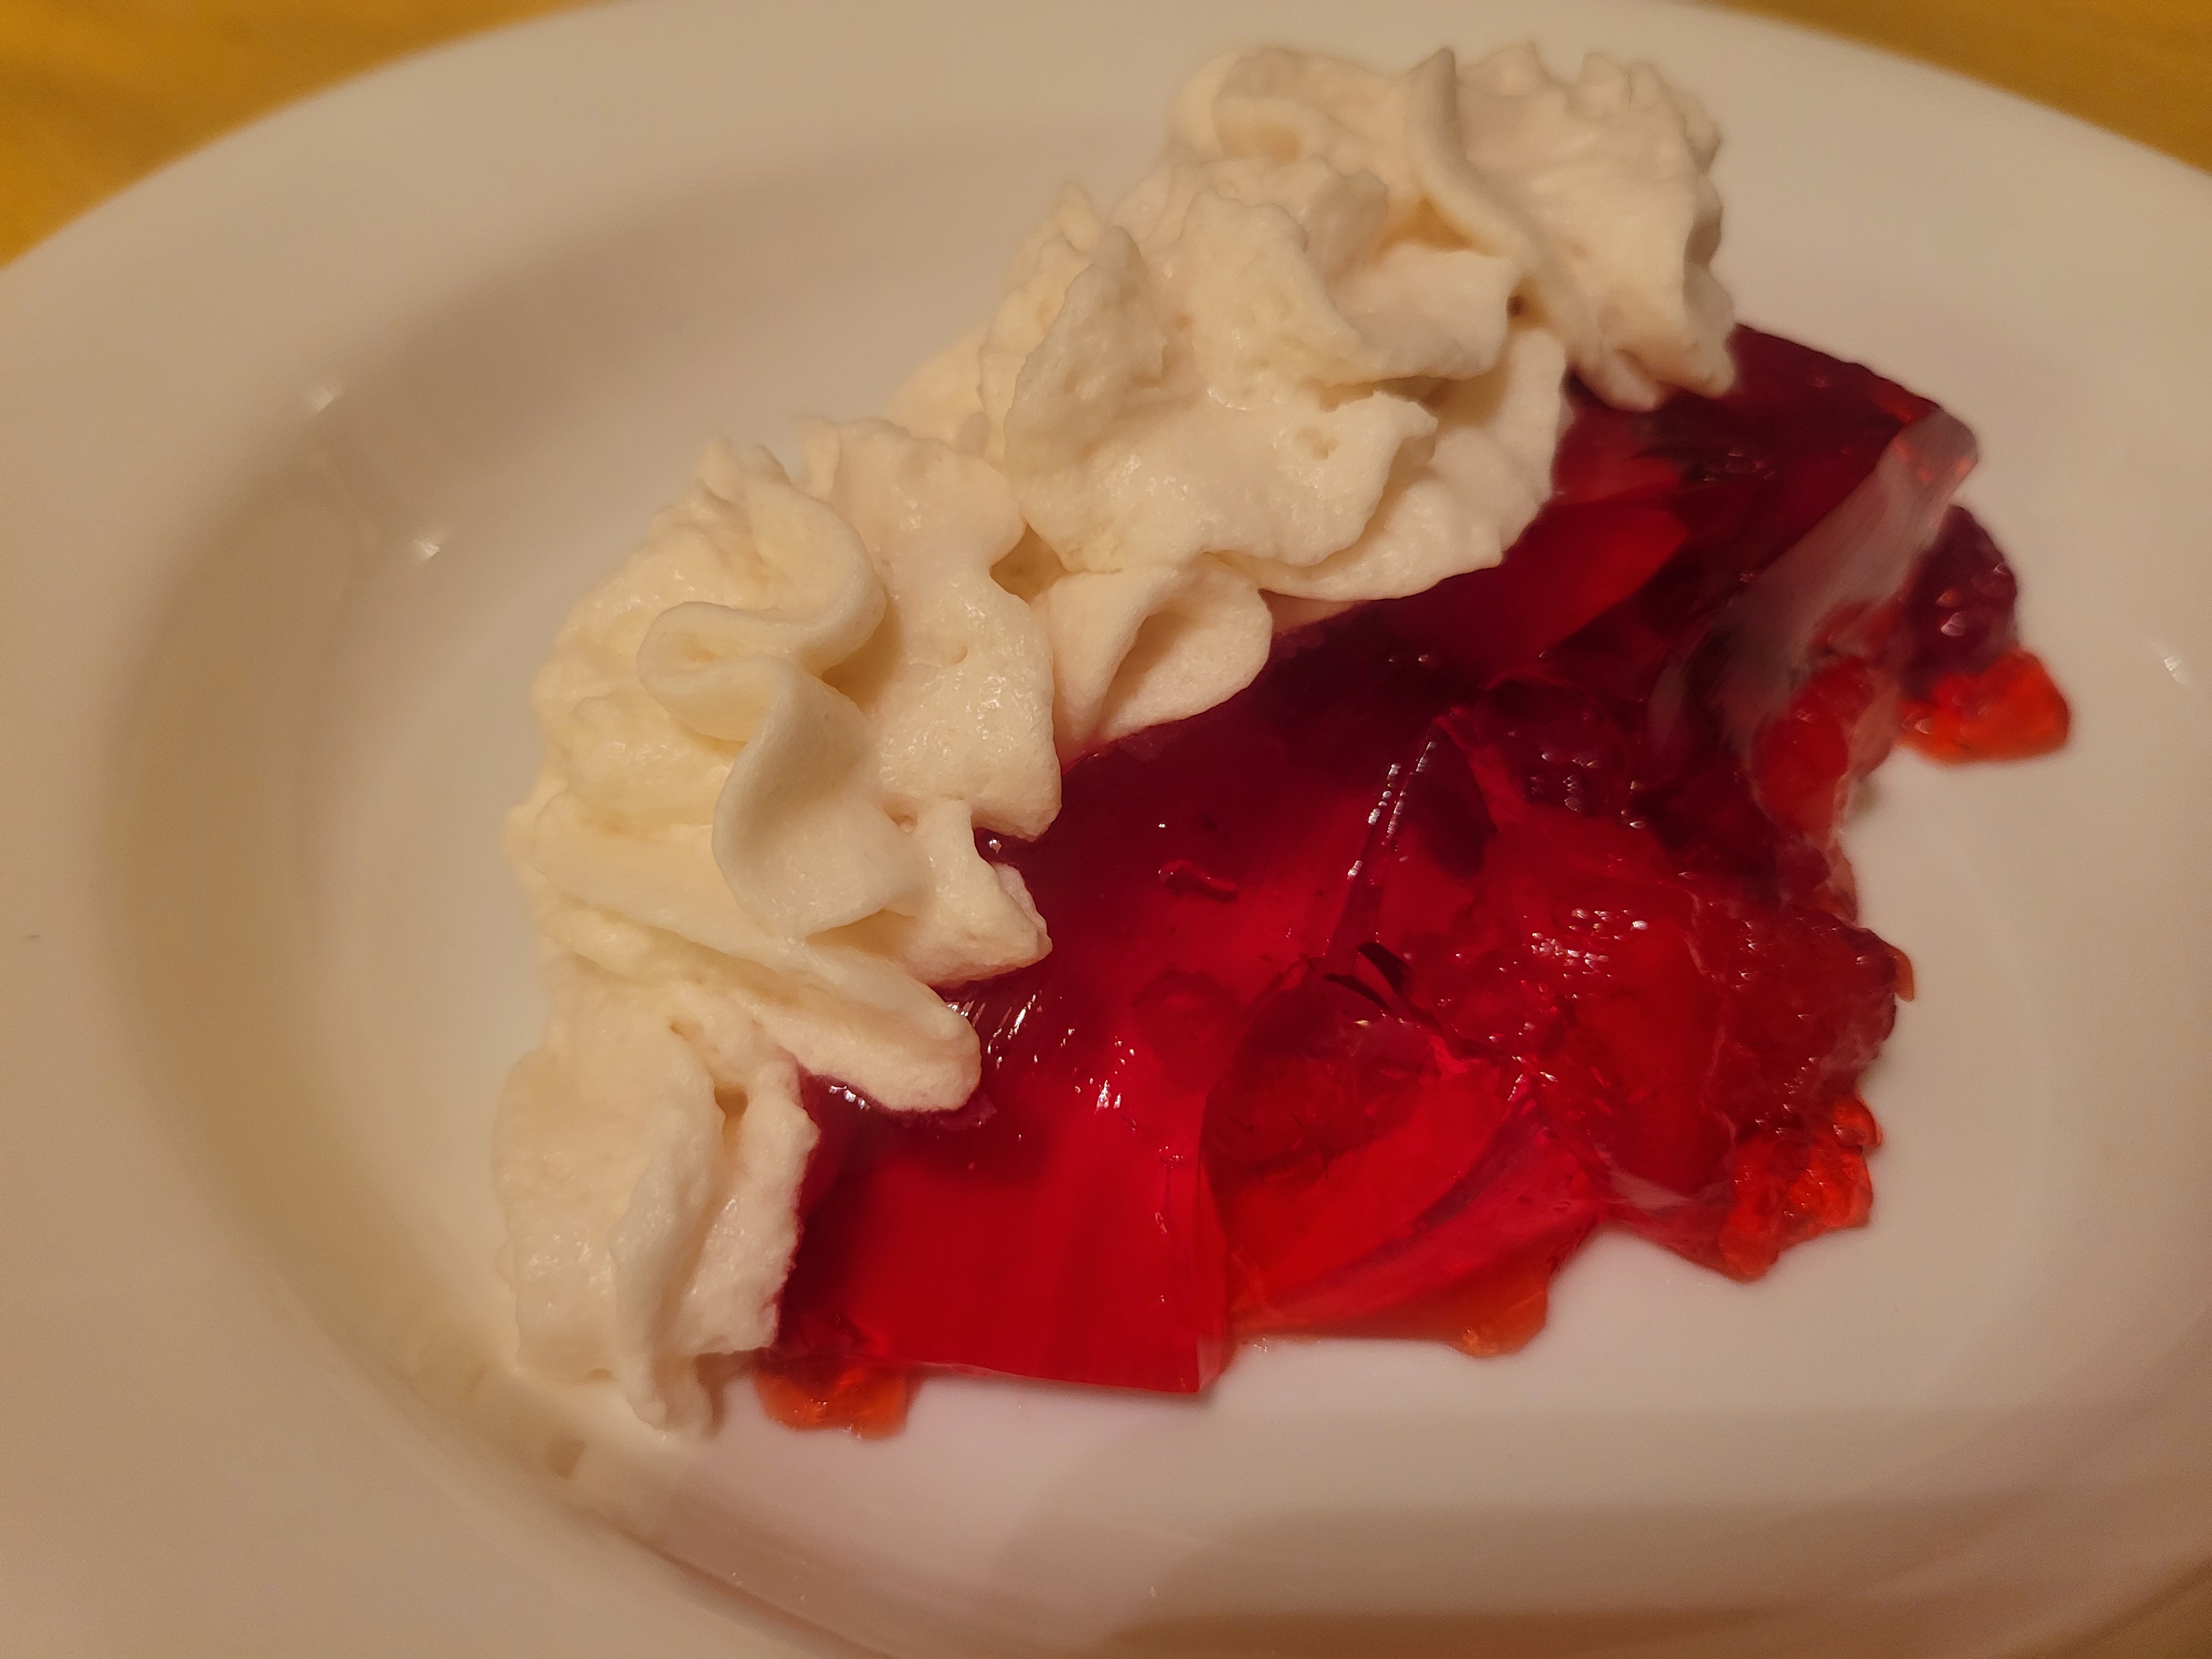
1 cup canned raspberries, drainedDissolve Jell-O in boiling water. To raspberry juice add enough water to make 1 cup. Add to Jell-O. Pour half in mold. Chill until thickened. Add raspberries. Fill mold with Jell-O. Cool until firm. Serve with whipped cream. Serves 6.
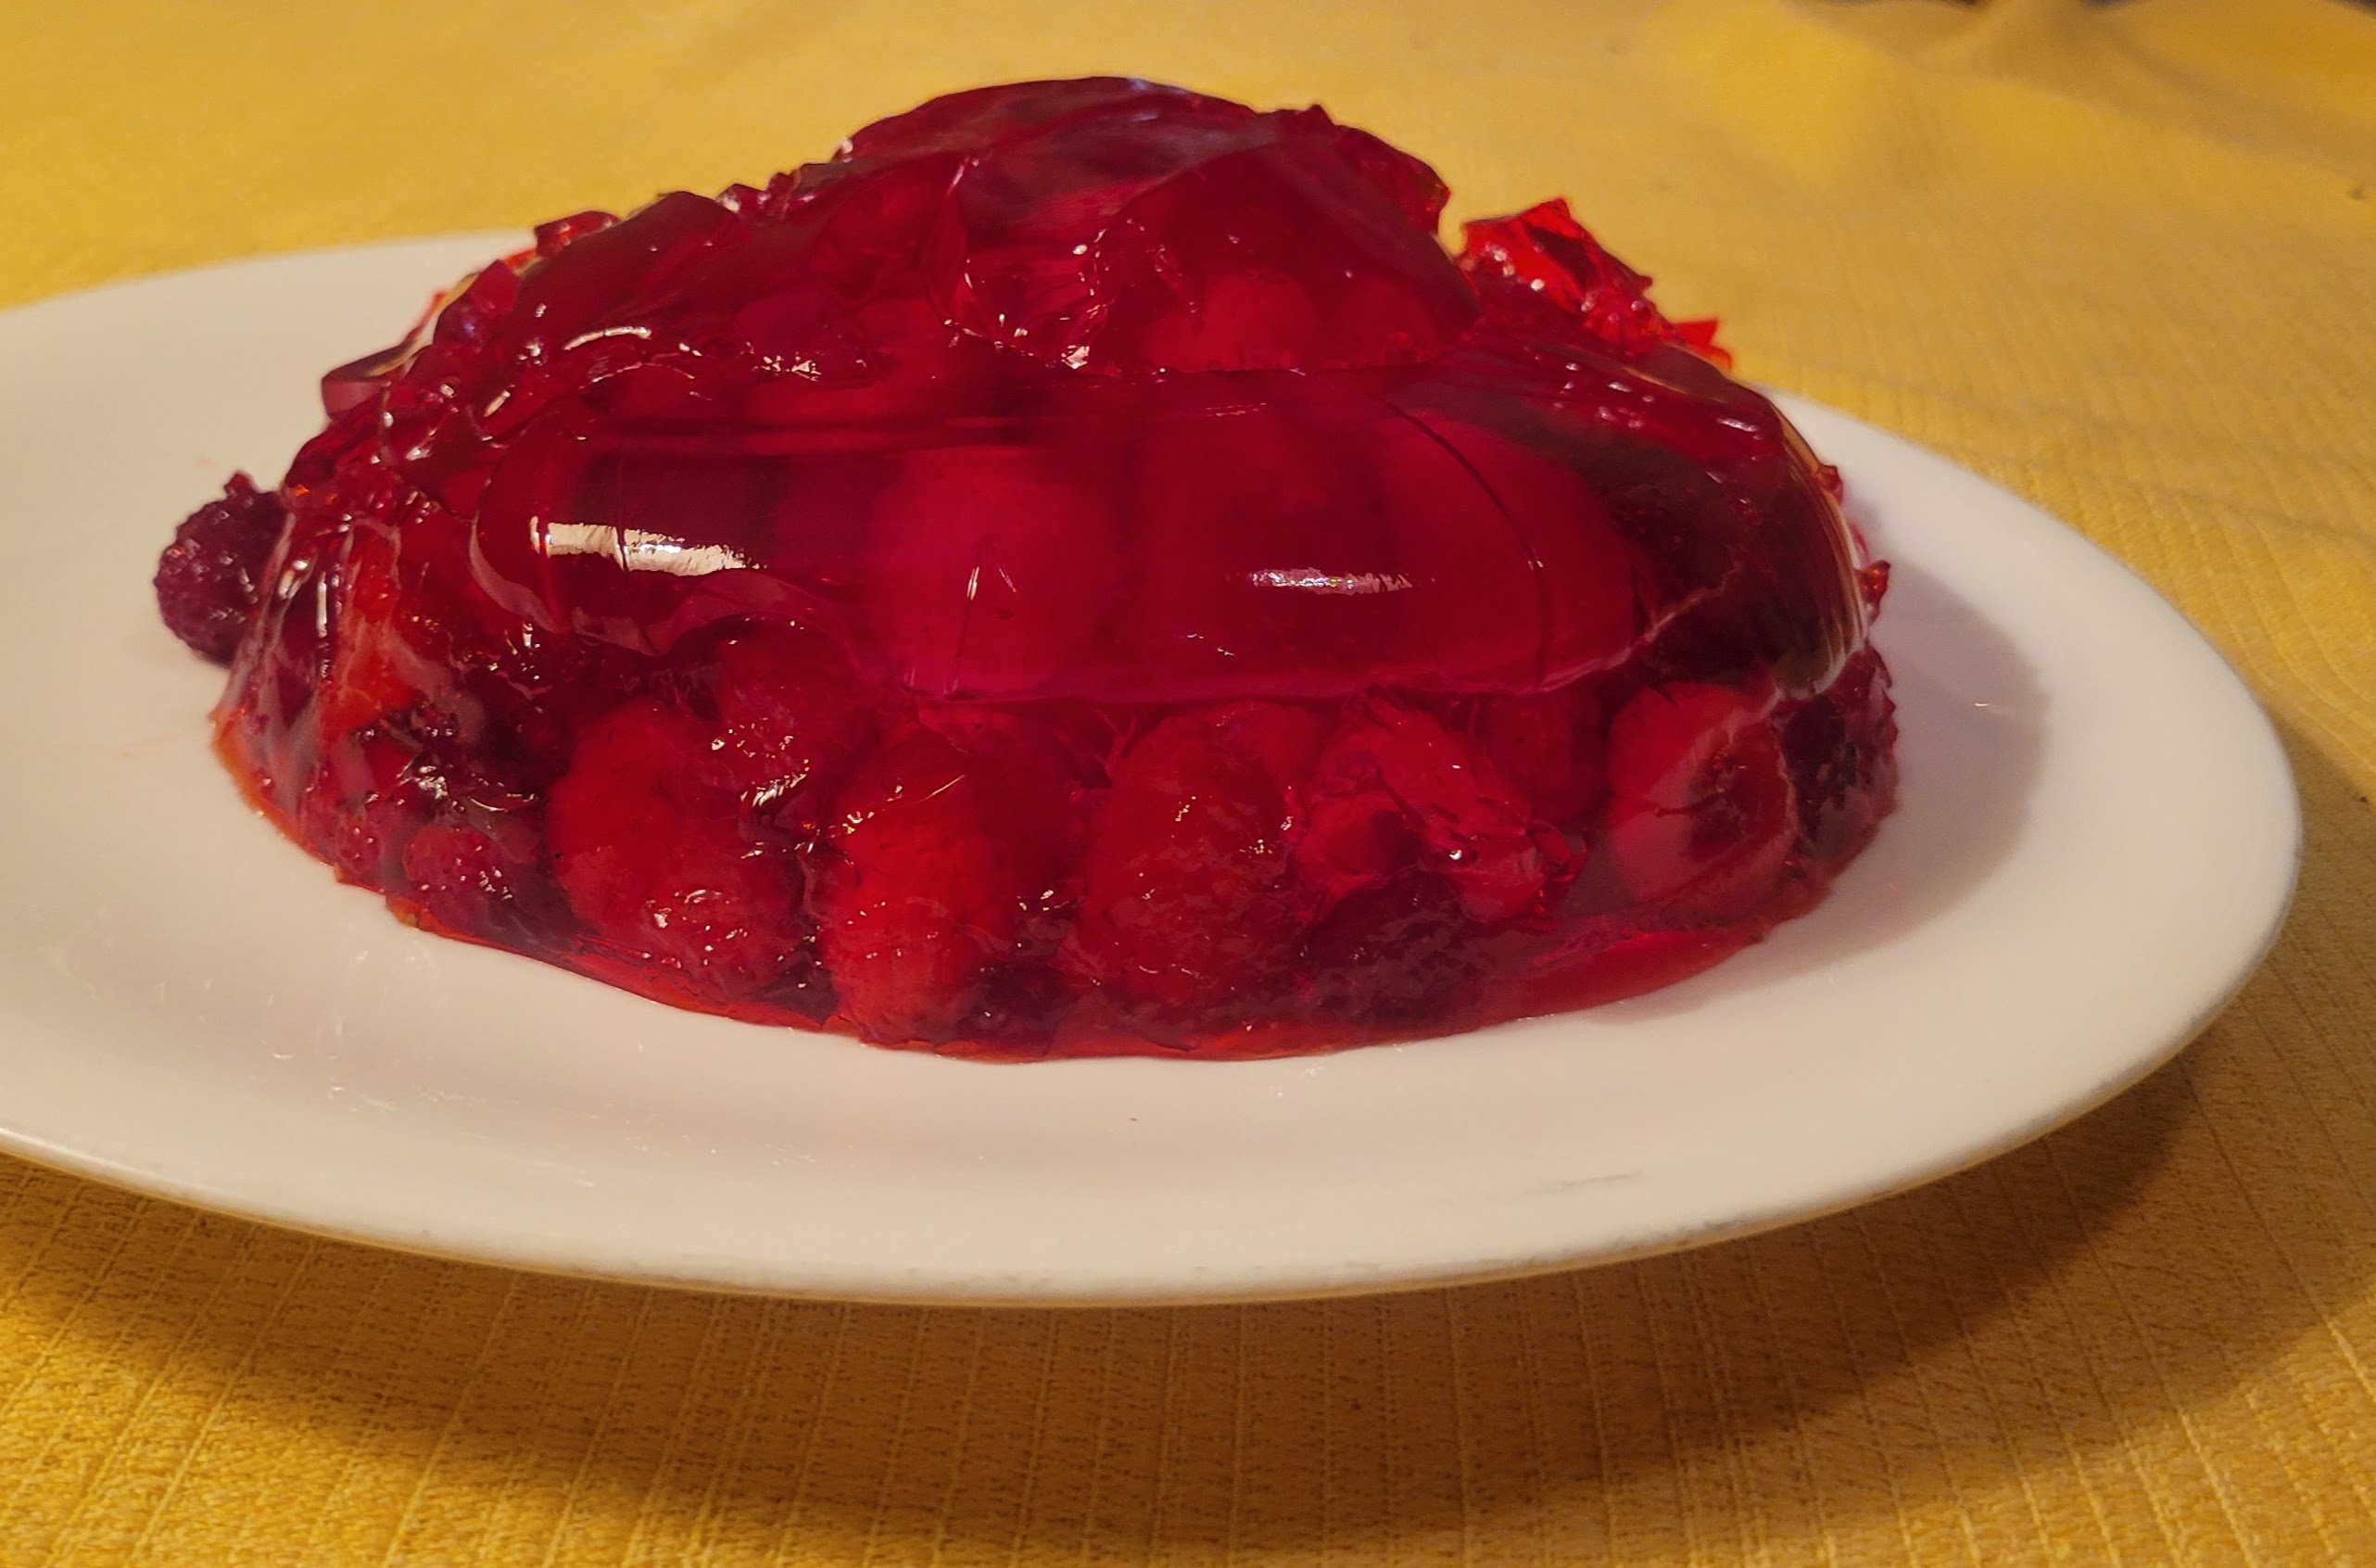
I was unable to find canned raspberries at the two grocery stores I stopped at, so I had to make a couple of adjustments to the recipe. Since I used fresh raspberries in place of frozen, there was no accompanying juice, so I used plain cold water instead. If I were to repeat the recipe, I would thaw frozen raspberries to obtain something with a more similar texture to canned ones and obtain at least some juice. I also waited a bit too long to add the raspberries to the mold, so mine ended up in what became the bottom half of the Jell-O mold, rather than the upper half. For those following along at home, be sure to set a timer to come back and check every 20 minutes or so, in order to catch the Jell-O while thickened, but not yet solidified.
My skill at turning out Jell-O from the metal bowl I used as a mold also leaves something to be desired, so my final result was a bit flatter and more lopsided than that depicted in the 1927 illustration, but the flavor was just as delicious as raspberries and whipping cream should be!